The love affair with brownies continues
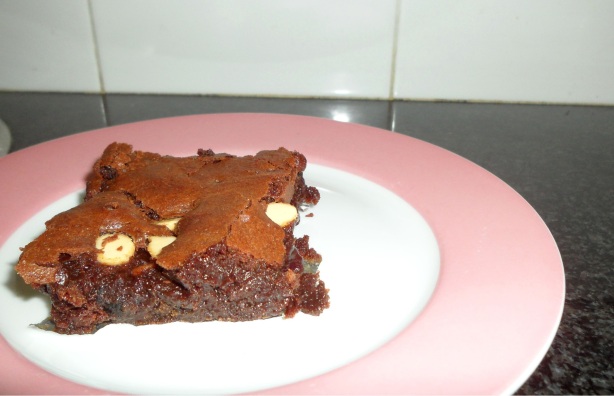
I find it very hard to go past a good brownie. Gooey chocolate with melty chocolate inside it is pretty much my happy place. These brownies are very simple, most of the ingredients would be in your cupboard (or is that just me ….).
Side note – the last 5 months have been an intense no-time-for-cooking-no-time-for-much kind of season. Completely loving my new job but I am adjusting to a new schedule so for anyone out there still interested in my cooking adventures, I apologise for radio silence. Aaaaand yes I am aware my last 4 posts have had this disclaimer in it somewhere. I’m human! The love for food hasn’t faded.
Brownies are a fabulous peace-offering no?
What you’ll need:
- 200g chocolate – you choose dark/milk brand/cooking, whatever goes!
- 150g v=butter
- 100g flour
- 75g cocoa
- 150g caster sugar
- 150g brown of muscovado sugar
- 4 eggs
- 100g white chocolate chips (or milk, or dark!)
- 100g chopped nuts
NB: I just attacked a packet of mixed salted nuts I had on hand – you can use any you like. Or omit and fold in dried fruit, more chocolate, marshmallows, crushed pretzels … whatever will sate your craving.
What to do
- Preheat an over to 180C and line a pan with baking paper.I used approximately a 20×25 pan. Any thicker and you may need to cook for a while longer.
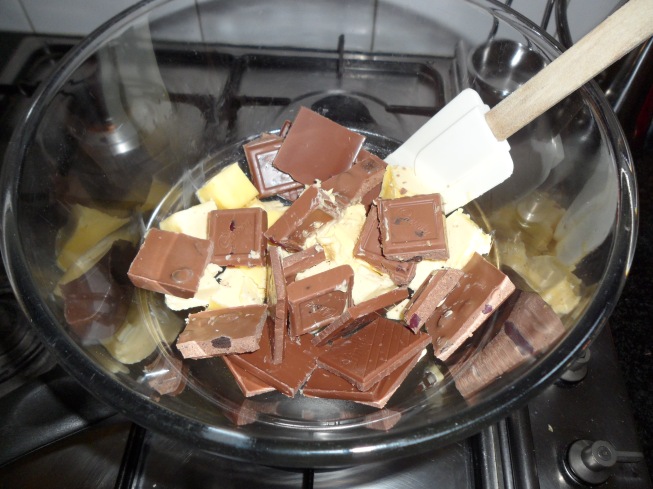
- Using a double boiler or a small saucepan and heatproof bowl, melt your chocolate and butter.
- Meanwhile in a bowl, place all the dry ingredients – flour, cocoa, sugars, choc chips and nuts.
- Once chocolate butter has cooled slightly, pour over flour/sugar mixture.
- Break eggs into this bowl and mix together. No need to beat, whisk or mix terribly well. As long as there are no eggy clumps you are good to go!
- Bake for 40 minutes.
- MOST IMPORTANT STEP – Let them sit for at least 10 minutes before you cut them or otherwise …..
- Eat plain, with ice cream or cream – just try not to eat the whole batch in one go!
My only tip would be the cooking time, and this may vary with different ovens. A skewer should come out flaky, not coated. Go crazy with flavours too …. grated ginger, cranberries, flavoured chocolates. Mmmmmmm may need to make another batch SOON!
Quick Chicken Pot Pie
With the cold months coming on it is time for warm and filing pies.
Actually, even when its hot sometimes I want pie.
OK honestly, there aren’t many occasions when I’m not totally up for pie. And while on weekends lovingly slow cooking pie filling can make me weak at the knees, sometimes I’m after quick satisfaction.
Such as Mondays. Monday nights I need a great dinner to think about to get me through the day. This pie can be cracked out in 40 minutes, start to finish. 30 minutes if you omit the leeks (just skip steps 2 and 3). Don’t get overwhelmed by the steps, it comes together pretty quickly and if it takes you 45 minutes, I don’t tell anyone.
What you need:
500g chicken, breast or thigh
1 leek
1 cup mushrooms
4 tbsp butter
2 tbsp plain flour
1 cup hot chicken stock (instant stock is fine)
1 tsp tarragon
2 tbsp thickened cream
1 sheet puff pastry
1 egg or a small amount of milk for brushing on pastry at the end
A large glass or ceramic dish for baking the pie
Two frypans, one of which has a lid (a saucepan can be used as long as it has a lid)
What to do:
- Preheat an oven to 220C, turn your kettle on to boil (if you are using instant stock) and get your pie dish out.
- Prep your leek by washing thoroughly, you may need to re-wash sections as you cut. Slice the whites finely, you can get a bit rougher as the leek gets greener.
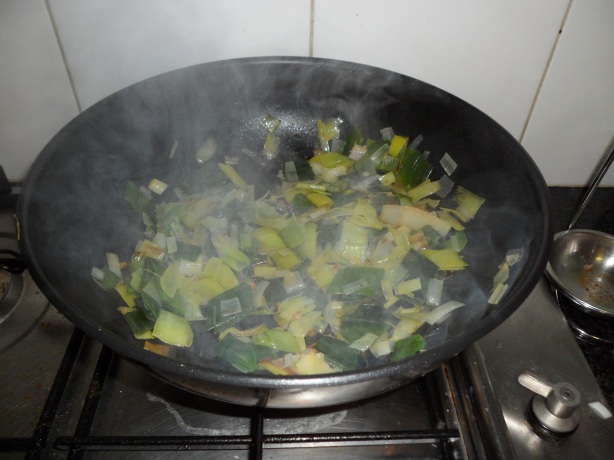
- Place the leek and 2 tbsps of butter into the pan that has a lid. Cover and let them sweat, checking regularly. Keep working while this happens and take off once all of the leek is soft.
- While the leeks are sweating, dice up your chicken and mushrooms into rough bite size pieces.
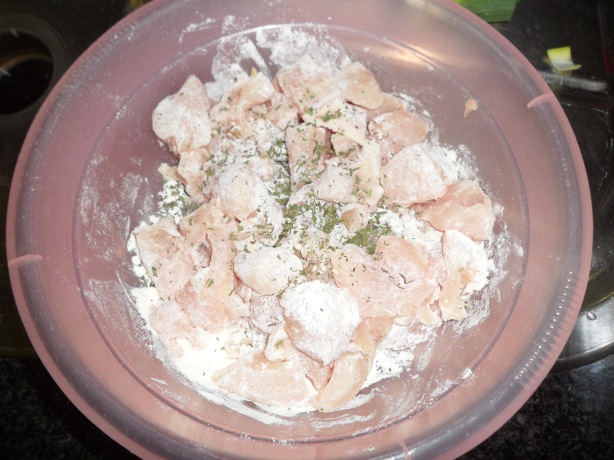
- Place chicken in a bag or bowl and cover with flour and tarragon. Salt to taste. Shake around to coat the chicken in the mixture.
- In a hot frypan, place rest of the butter and let it melt add mushrooms and cook for 1 minute.
- Keep the pan hot and add the chicken stirring frequently. Let any excess flour fall into the pan also as this will help it thicken up later on.
- Once chicken is browned, add the chicken stock. As your pan should be pretty hot, it will steam and bubble a bit. Don’t turn the pan down! All of this will help the thickening.
- Add the softened leeks and stir well. Let the mixture simmer for 3 – 5 minutes.
- Stir in the thickened cream, the whole mixture should be quite thick but not like holding together. In my opinion, a pot pie should have a lot of sauce!
- Pour the filling into your pie pan, smoothing out so it is fairly even height in the pan.
- With a little water on them, run your finger around the rim of the pan to ease the pastry sticking.
- Lay your pastry over the pie. As the filling is so hot, you won’t get a chance to reposition much so try to be accurate with your pastry placement. Any overlap, you can cut off and place on top or bunch up into areas of the side for tasty crunchy parts.
- Run a knife diagonally across the pie. The pastry will have softened greatly so don’t be concerned about doing exact lines. This is just some breathing space for the pie.
- Brush lightly with a little milk or egg and bake for 15 minutes or until the pastry is crispy on top.
Suggestions:
I’m trying a new section of suggestions. If I wish I did something different or have variations, this is where to find them.
This truly is a throw together pie that is satisfying and easy so I wouldn’t change this recipe but I have made variations if you omit leeks or just feel like more veg inside the pie. You could add a cup of peas or carrots or even dice bacon and add when you are cooking the mushrooms. All these flavours love each other so be confident and go for it.
